Shining Quick Reference Videos
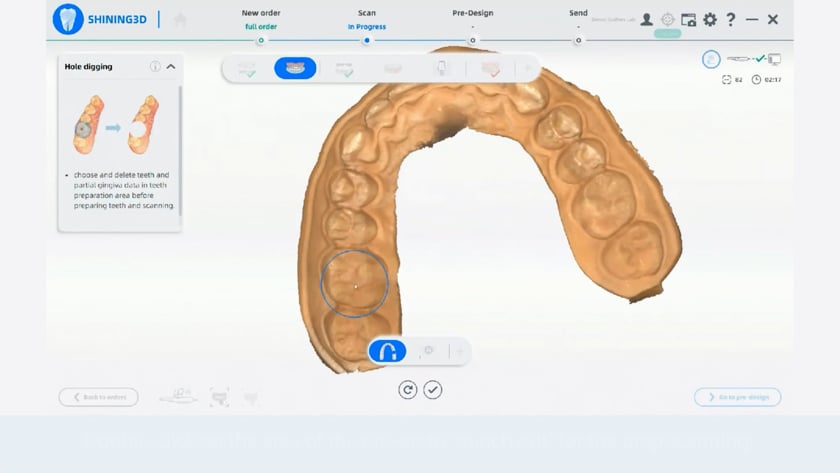
Punch out for a prep
Double-click on the area of the pre-op to “punch out” for the prep scanning.
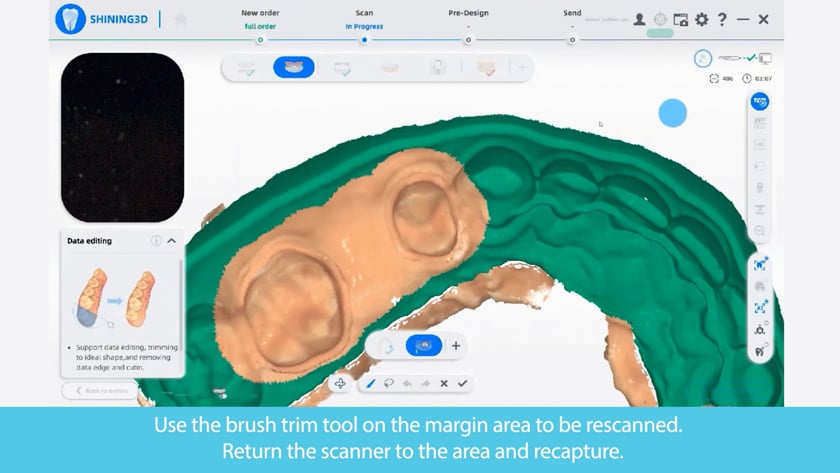
Rescan a margin
Use the brush trim tool on the margin area to be rescanned.
Return the scanner to the area and recapture.
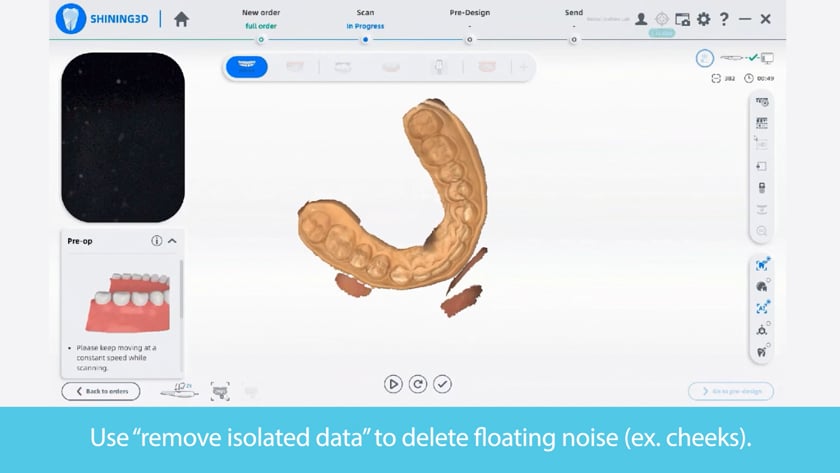
Remove isolated data
Use “remove isolated data” to delete floating noise (ex. cheeks).
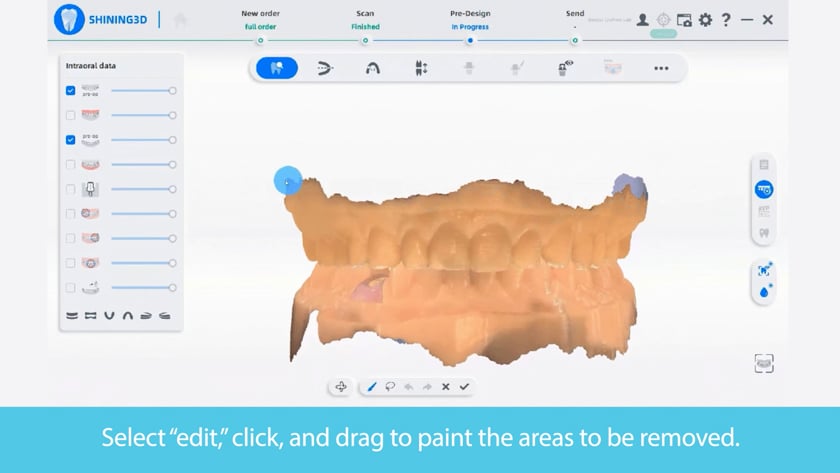
Brush Trim Data
Select “edit,” click, and drag to paint the areas to be removed.
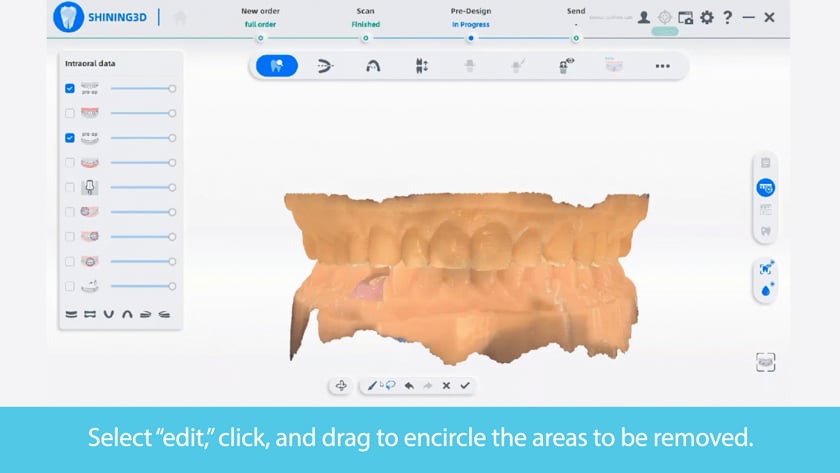
Lasso Trim Data
Select “edit,” click, and drag to encircle the areas to be removed.
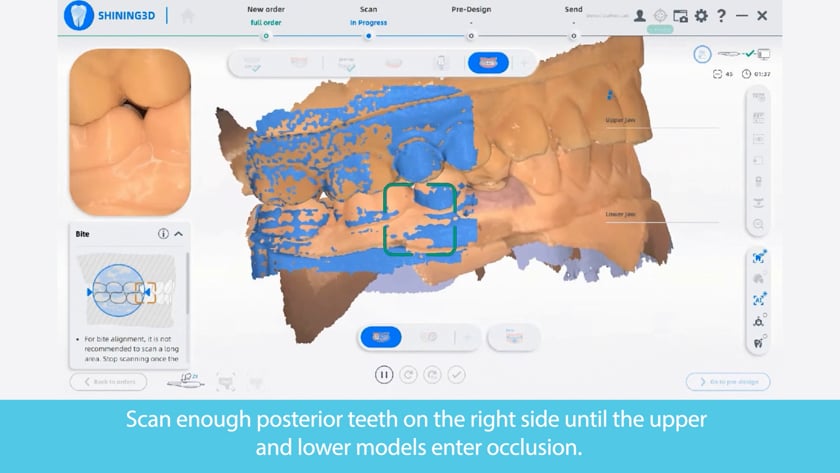
Scan a bite
Scan enough posterior teeth on the right side until the upper and lower models enter occlusion.
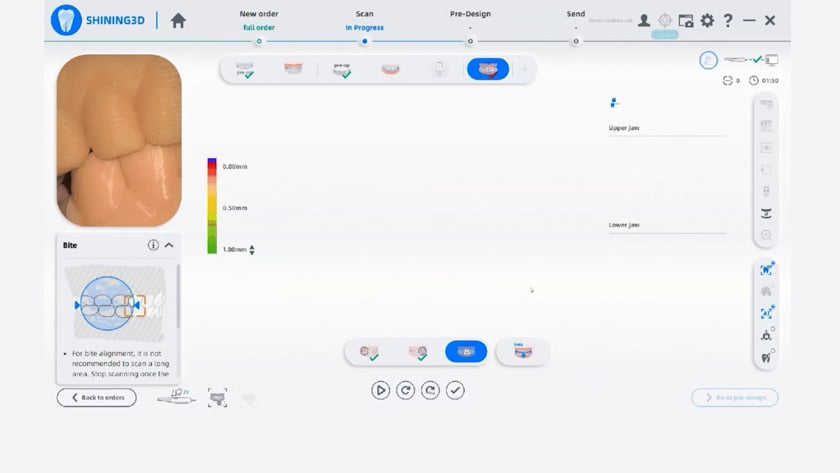
Add an Anterior Bite
Click the + next to the left side bite to add an anterior bite.
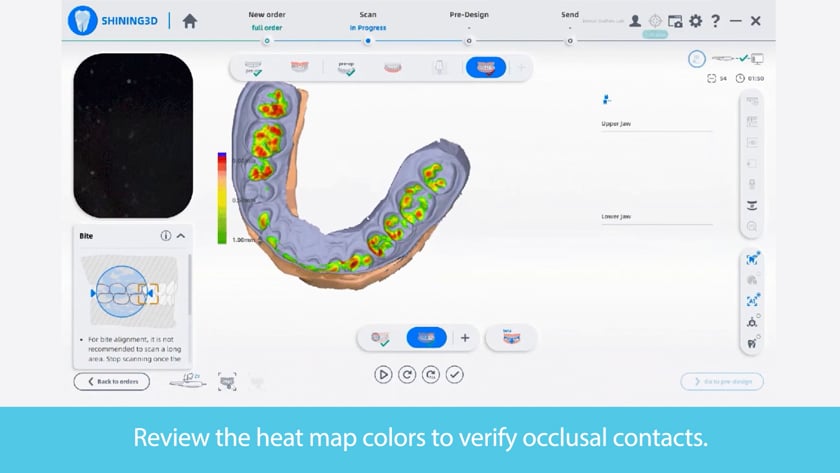
Check Occlusal Hits
Review the heat map colors to verify occlusal contacts.
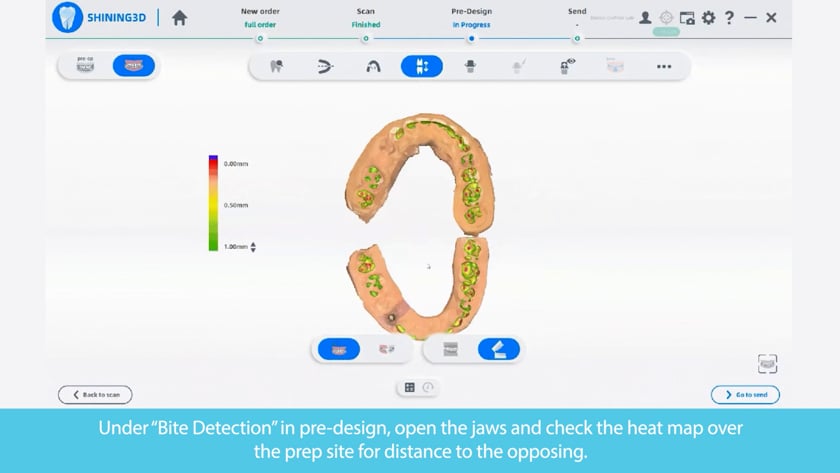
Check Occlusal Clearance Over Preps
Under “Bite Detection” in pre-design, open the jaws and check the heat map over the prep site for distance to the opposing.
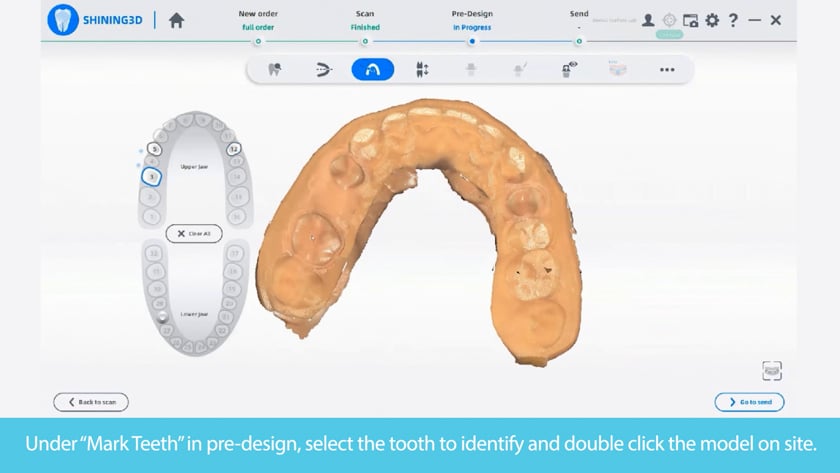
Identify Preps
Under “Mark teeth” in pre-design, select the tooth to identify and double click the model on site.
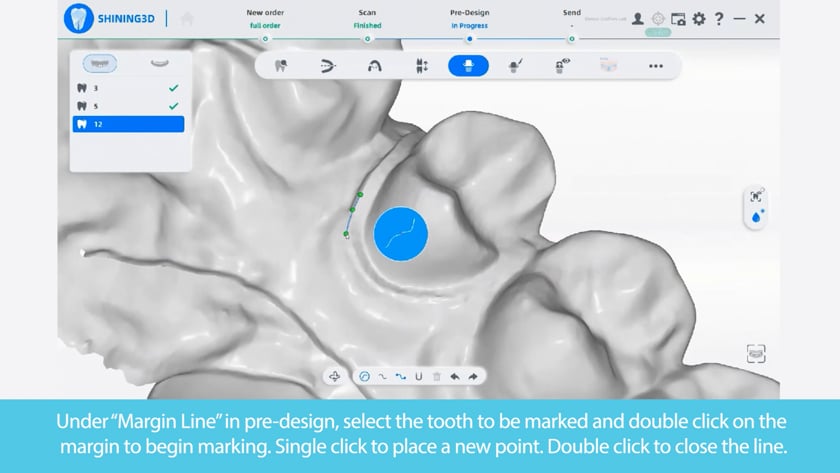
Mark a margin
Under “Margin Line” in pre-design, select the tooth to be marked and double click on the margin to begin marking. Single click to place a new point. Double click to close the line.
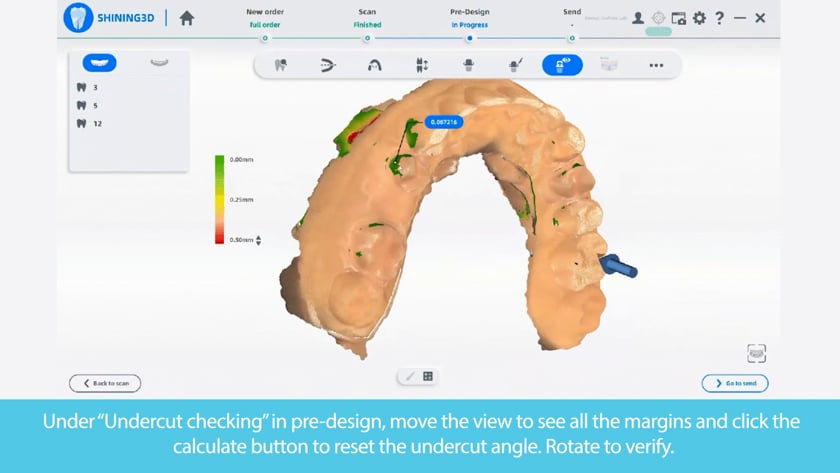
Check Undercuts
Under “Undercut checking” in pre-design, move the view to see the all the margins and click the calculate button to reset the undercut angle. Rotate to verify.